Apple Classroom
To get started with Apple Classroom, you will need to install it from Self Service on your district Mac. Once you have installed the application, open it up.
Getting Started with Apple Classroom
Teacher Perspective(Mac)
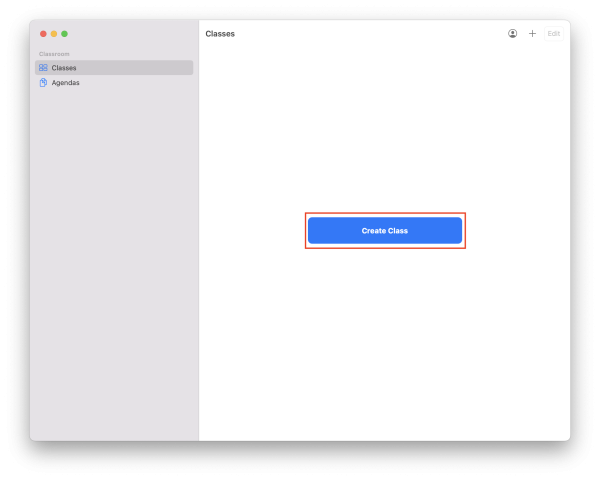
The first thing you will need to do is create a class. Your account may have classes pre-loaded, but they will not work since students are not logged in with Apple IDs. You need to manually create the class using these instructions.
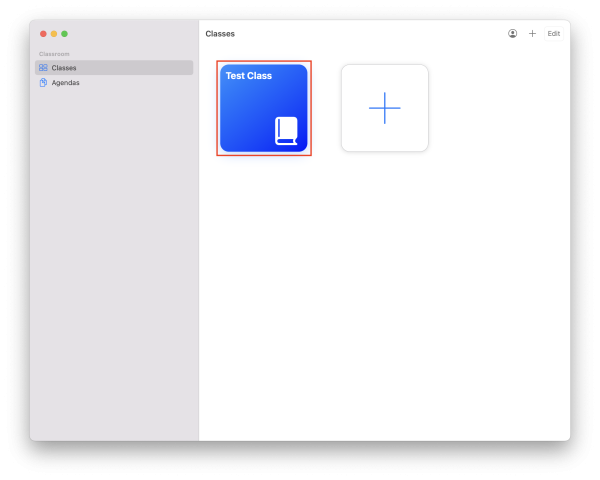
After you have created your class, click on its icon.
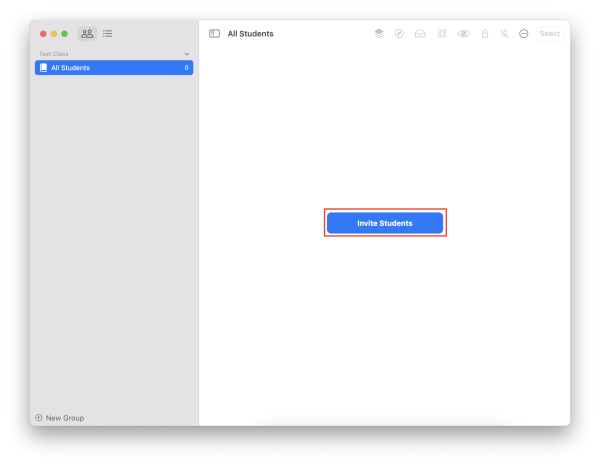
Next you will need to invite students to your class.
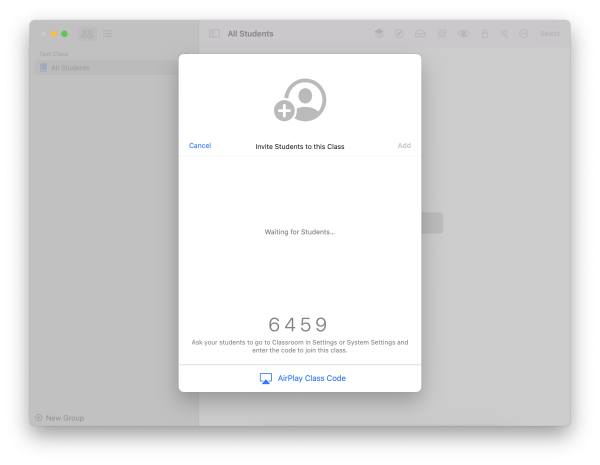
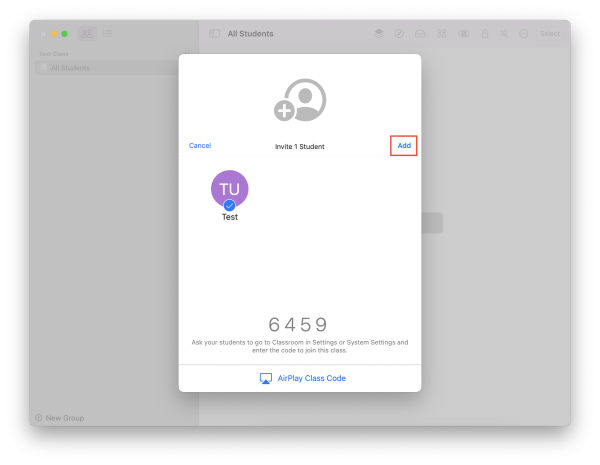
You will then see the below screen with a code unique to your classroom. The invite to your classroom is based on proximity, it is not sent as an email. Students that are in the same room as you will be able to join. How they join is covered below.
Student Perspective(iPad)
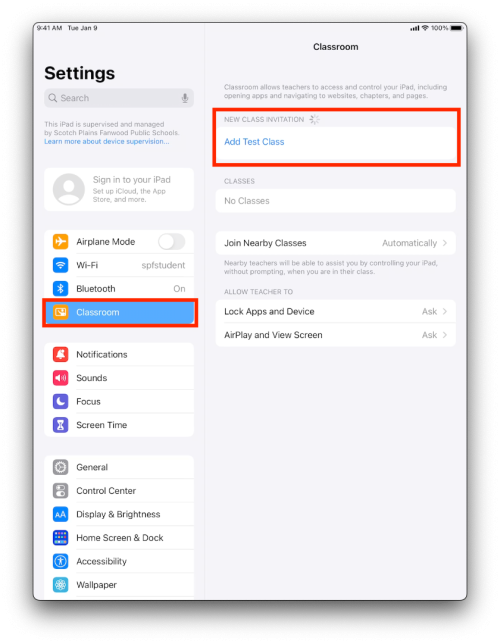
Below is what the student will see on their devices. They will need to go into Settings and then tap on Classroom and Add *your classroom name*.
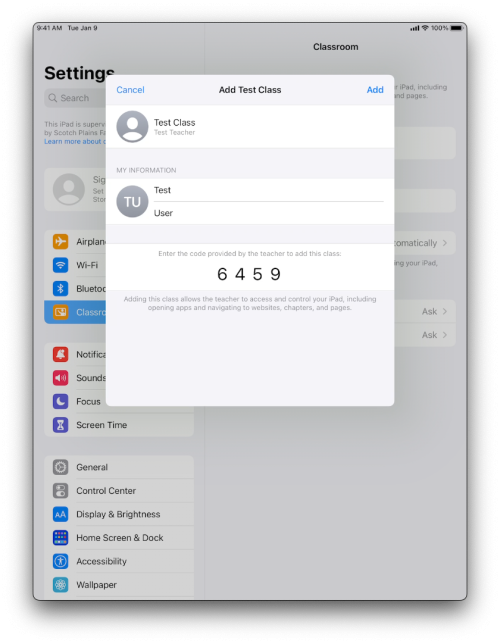
They can input their name and your unique classroom code. Then tap “Add”.
Teacher Perspective(Mac)
Finally, you will see the student appear in your Classroom on your Mac. Click “Add” to add them to your classroom.
