Setting up Adobe
Installation
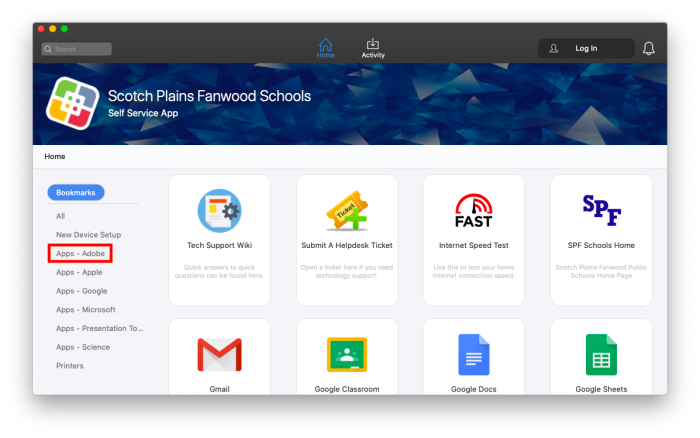
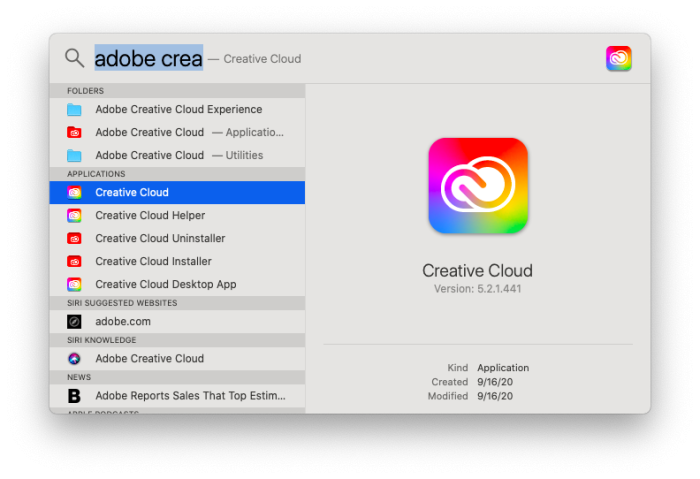
To install Adobe Creative Cloud, first open the Self Service application by searching for it with Spotlight(the magnifying glass in the top right of your screen). Once you have opened Self Service, select “Apps - Adobe” from the list on the left.
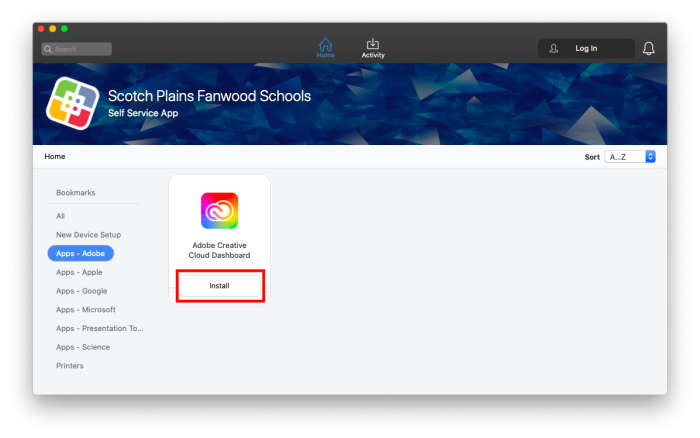
Then click the “Install” button under the Adobe Creative Cloud Dashboard.
Start Creative Cloud
Signing In
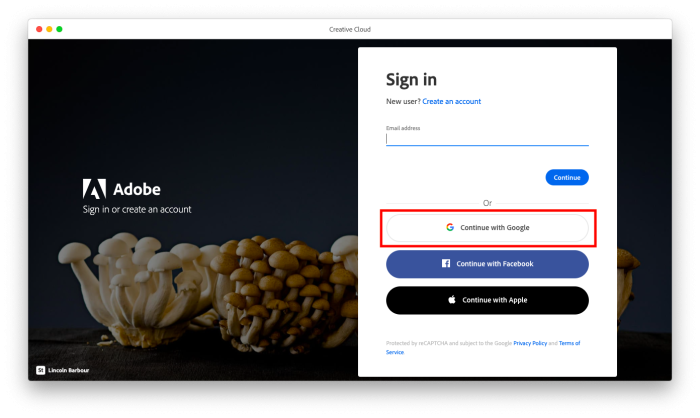
Once Creative Cloud has opened you will see a login page. Click on “Continue with Google”.
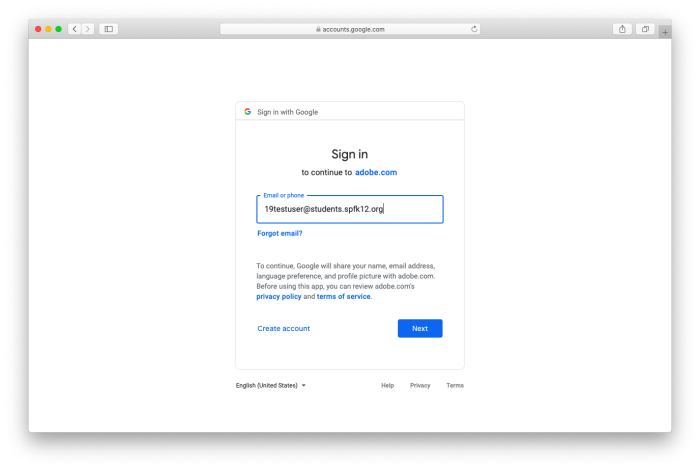
You will be brought to a Google sign-in page. Login with your district email and password, the same way you would login to your Google account.
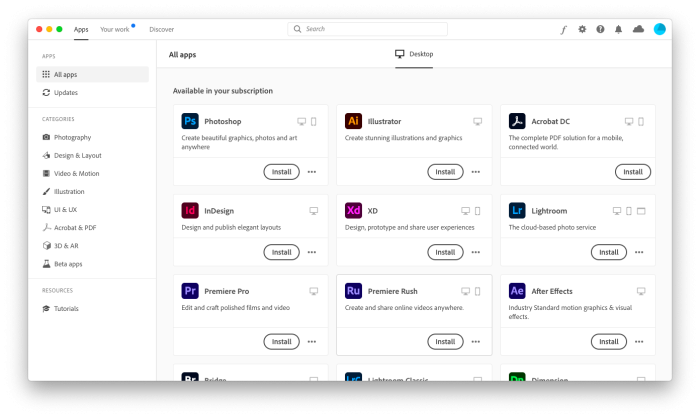
Once you are logged in you will see a page with all of the Adobe applications. You can install them by clicking on the “Install” button.
Once it is finished installing, the application will appear in your Applications Folder.
If you have issues that are not covered by the documentation please visit the Helpdesk.
