Setting up Your Epson ES-50 Scanner
Power on the Scanner
The first thing you need to do is plug in the device. Once you have the scanner plugged into your laptop, you should see the power light turn on.
Install Drivers
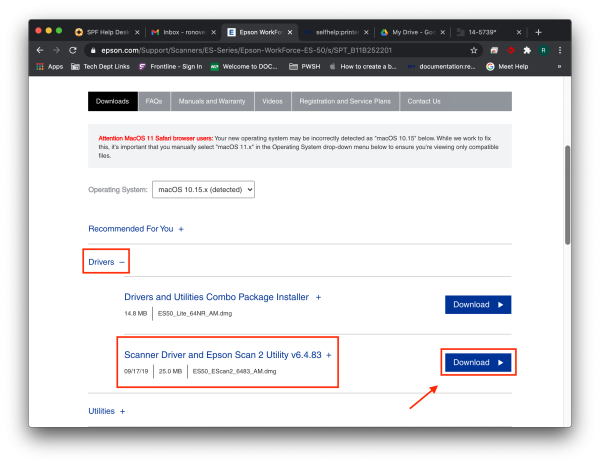
Next, you will need to install drivers in order for your laptop to recognize the scanner. Navigate to the Epson website to find them.
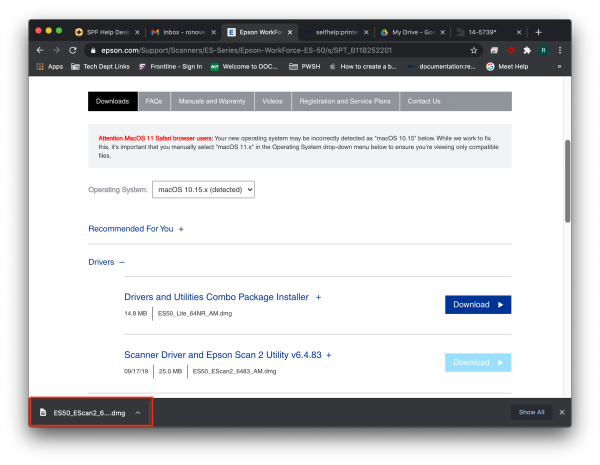
Click on “Drivers” and then download “Scanner Driver and Epson Scan 2 Utility”.
Once it has downloaded, click on the file to open it.
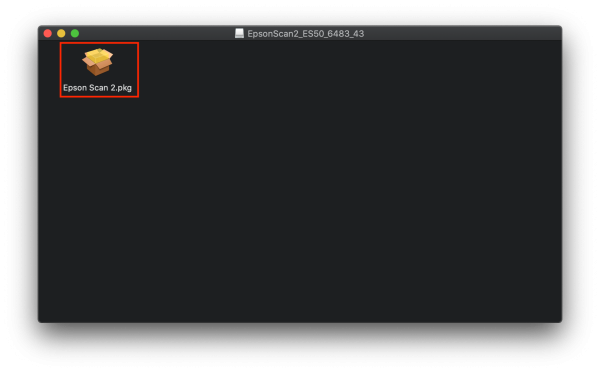
Then click on the file inside.
Run through the installation process to finish installing the drivers.
Scanning a Document
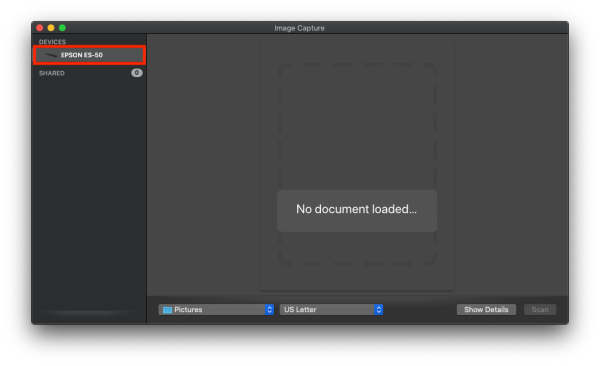
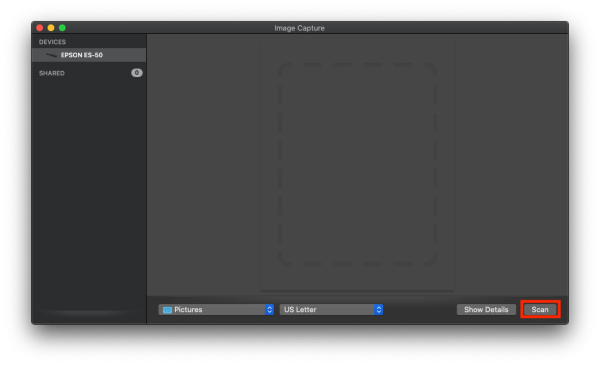
Now that the drivers are installed, open up Image Capture by searching for it with Spotlight(the little magnifying glass in the top right). Once it is open, you should see the scanner in the list of devices.
Place the document you would like to scan in the scanner. Image Capture will know when the document is there and allow you to scan.
If you have issues that are not covered by the documentation please visit the Helpdesk.
