Table of Contents
Screensharing an iPad with Quicktime Player
Trusting the Computer/iPad
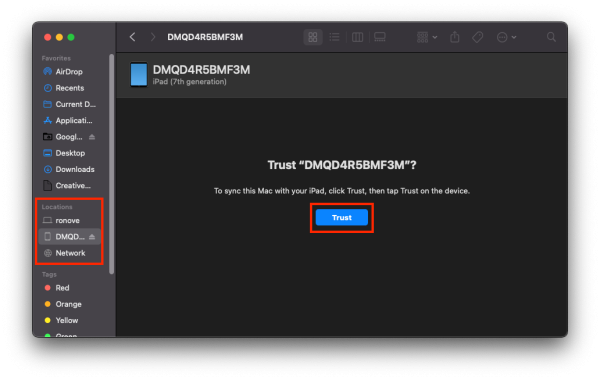
The first step you will need to take is plugging in the iPad to your laptop. You can do this with a USB A to Lightning cable or a USB C to Lightning cable. Once the iPad is plugged in, you will probably need to trust the computer. You should see a prompt on the iPad. Tap “Trust”.
You may also need to trust the iPad on the computer. In order to do this, open Finder and locate the iPad in the left bar under “Locations”. The iPad will most likely be named after its serial number.
Screensharing
To begin screensharing your iPad, you will first need to launch Quicktime Player, either by finding it in your Applications Folder or searching for it with Spotlight. The Quicktime icon is pictured below.
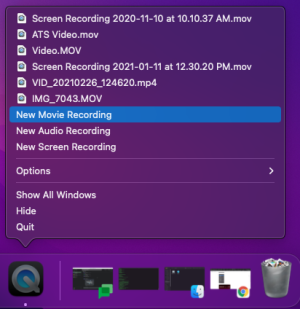
Once you have located and launched Quicktime, you will see the icon appear in your Dock. Right-click on the icon and select “New Movie Recording”.
A screen will open, most likely with your laptop's camera. Click on the little arrow near the recording button.
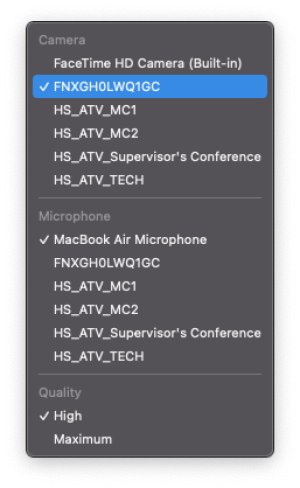
Select the iPad from the list of cameras. The iPad will most likely show up named after its serial number.
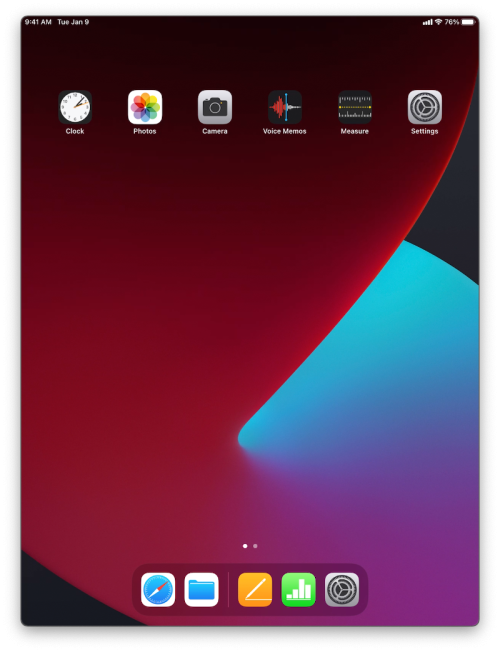
Once you have selected the iPad, you will see the iPad screen mirrored in Quicktime.
Airplaying the iPad Screen
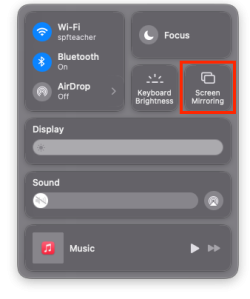
You can Airplay the now screenshared iPad the same way you would normally Airplay. First, select the Control Center in the top right corner of you screen.
Then select Screen Mirroring from the menu.
Finally, select your Apple TV from the list of devices and enter the corresponding code.
If you have issues that are not covered by the documentation please visit the Helpdesk.
